We interviewed Giulia, a 3D artist from Chile. We discovered Giulia from her 3D characters made and the for her Blender tutorial. Our interested was in particular for her skills on sculpting in Blender (coming from ZBrush) and for Giulia’s Character Workflow with Blender.
Talk us a bit about you
I studied illustration and graphic designer. Then with my partner, he is an animator, we set up a studio of motion graphics called MONKI, so I have worked there as a 2D illustrator from 2013 until now. But in my free time, I started to learn 3D because I always wanted to make my characters in 3D, and I love it so much that I decided to do more and more 3D and show it in my social media. I didn’t even realise when I was working almost full of my time in 3D and less of 2D.
What is your job?
Now I’m working as a freelance 3d artist for clients around the world and in my tutorials too, something that I loved and I think I’m going to make this a part of my stable work and dedicate much more time on it than in client works.
Why do you use Blender?
First, because it’s a great program, I loved the modeling part, it’s so amazing with all the shortcuts, it blows my mind. Then with all the upgrades that Pablo Dobarro is doing to the sculpt mode, I think it was worth a try. I was using Zbrush for some years so I tried to adapt my workflow in Blender and turned out that I could. I only needed the Zremesher and I found an addon (Quadremesher) that makes almost the same result, so I discovered a way to make clothes as I did in Zbrush with this addon. I decided to stay in Blender because I wanted to make almost everything in one program and avoid switching from one program to another. That makes you lose time especially when you make mistakes and you have to go back to the other program and fix that and then go back again, and again, etc. So now I can do everything in Blender, modeling, sculpting, retopo, UVs, hair, texture, render, etc. Now I only use Substance Painter as an extra program.
Why do you use Blender for Sculpting?
I tried the sculpt mode in the 2.79 and I have to say, it was painful and horrible for me, so I ran away. And then Pablo Dobarro started making his magic and I gave it a second chance and It was so much better than before, the brushes were great, not like Zbrush of course but perfect for what I needed. I don’t do realistic stuff so I just need a quick sculpt or base to then make retopo or modeling. I don’t need to have millions of polygons. I was used to sculpting in that way like a simple sculpt and then retopo or good topology. So for me, Blender is perfect.
What are the differences between Blender and Zbrush?
In Zbrush you can make details in great quality only in sculpt with dynamesh, I think in Blender with the remesh (that is what I use, I don’t like the dyntopo) you can’t put high-quality details for sketches of sculpt. But I never did that in Zbrush either. As I said, I always made a sketch of sculpts, then retopo and then details in subdivisions. I like to work with clean topology. You can make the same in Blender with the multires modifier.
And in Zbrush the part of modeling in low it’s painful, just horrible, and I like that in Blender I can edit geometry in low so much faster, and then go back to sculpt and that’s it.
What are the strength and weak point of Blender for sculpting?
The strengths are the ability to mix all the modes of Blender, with modifiers, with edit mode, and even preview a render with sculpt. I think that is the part I love more, just change so quickly from one mode to another, or have some part with sculpt and others in low and make a render if you want.
The weak point I think is the brushes, the number of brushes in Zbrush is huge, and in Blender we still need some simple brushes like better flatten or trim to make more hard surfaces stuff in sculpt or brushes to cut geometry quickly.
Tell us of you steps of character Workflow with Blender
1) Blockout – of the character with simple geometries, almost everything with spheres, to have an understanding of the shapes, proportions, etc
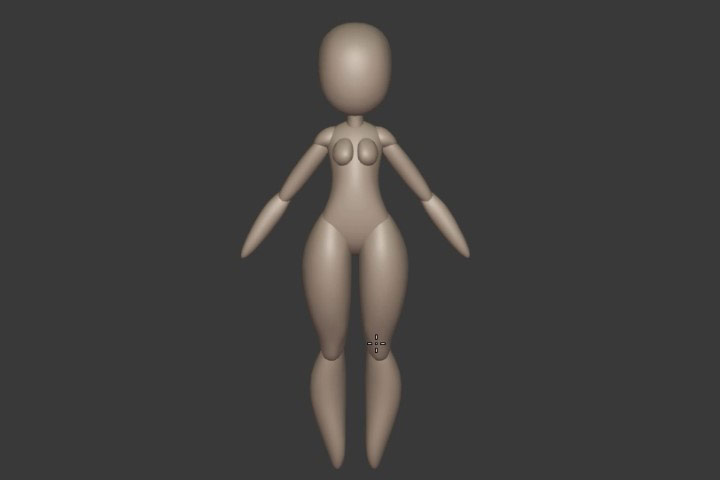
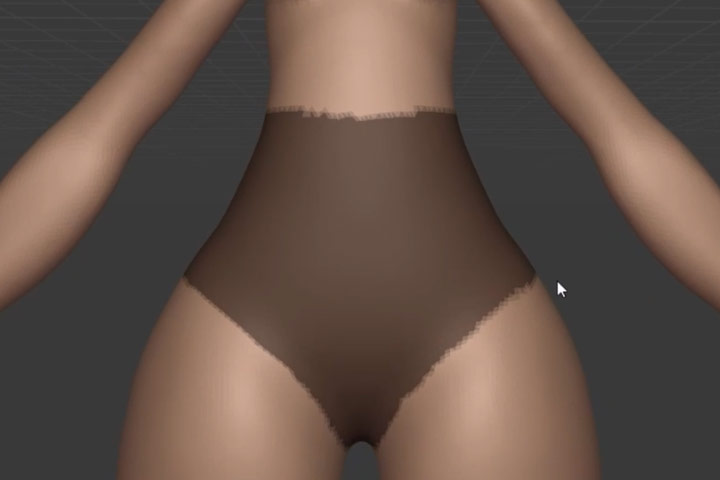
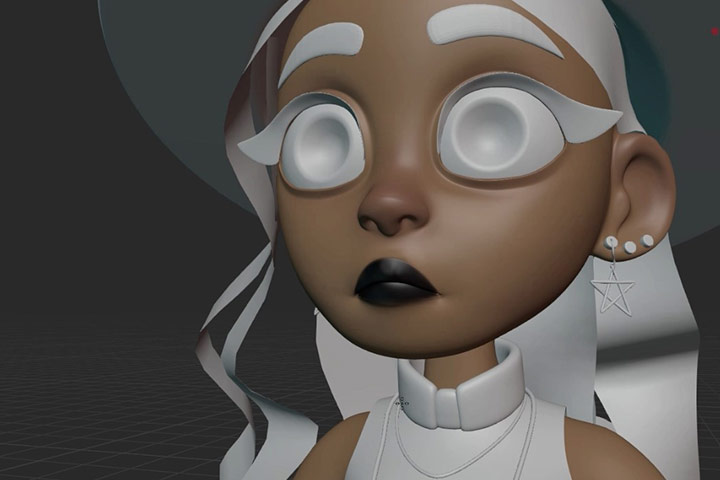
2) Sculpt: Then I mix all together and go to sculpt mode and merge the mesh in one body
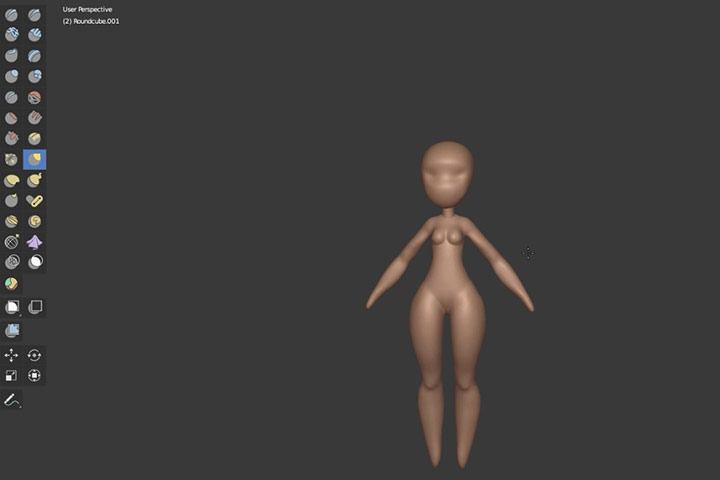
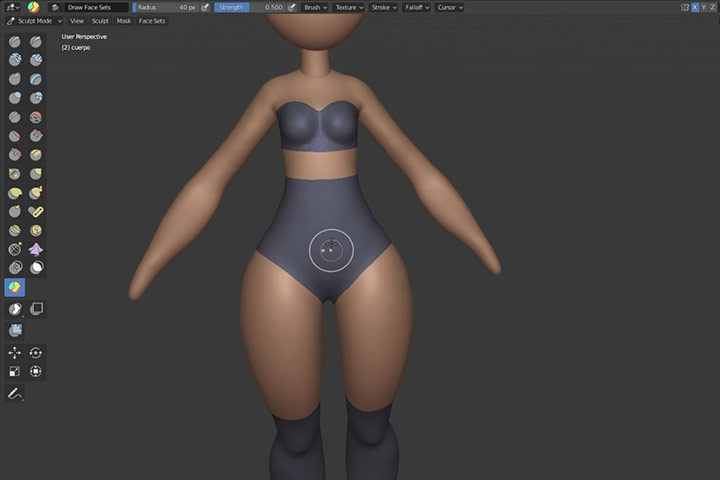
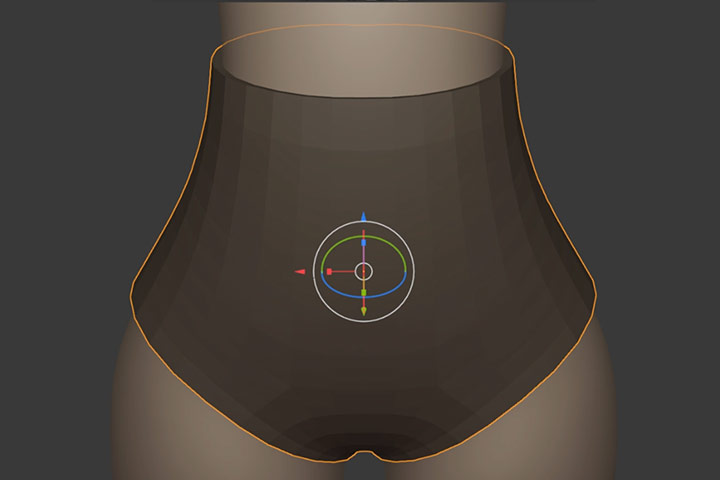
3) Clothes: With the base of the body I make masks, facesets, etc for the clothing and something like an extract of that. With this geometry (without thickness) I use the quadremesher to clean the geometry and then make extrude or solidify modifier

4) Masking
5) Facesets
6) Edit mode selection to have this pieces apart
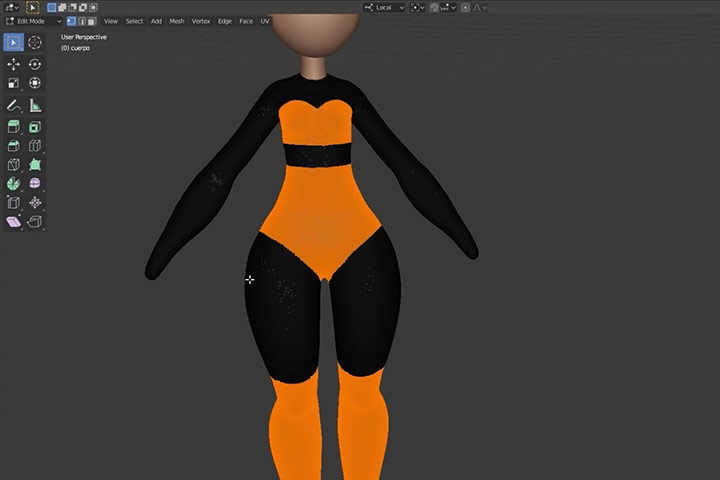
7) Quad Remesher to clean all the meshes
8) So now I can make clean extrude
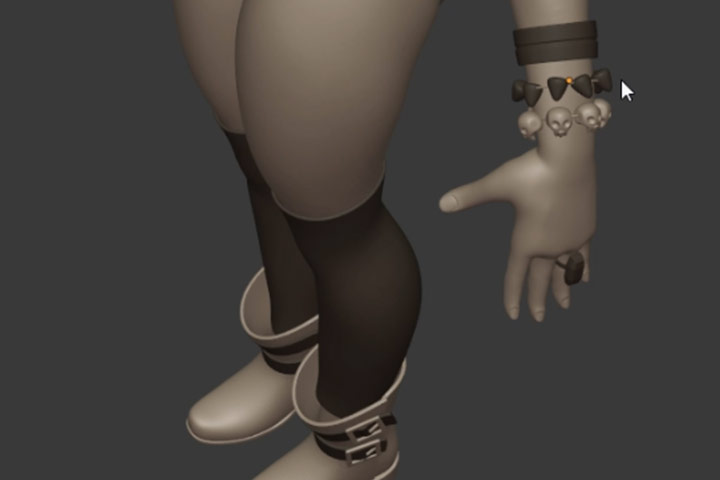
9) Then I model other accessories in low poly
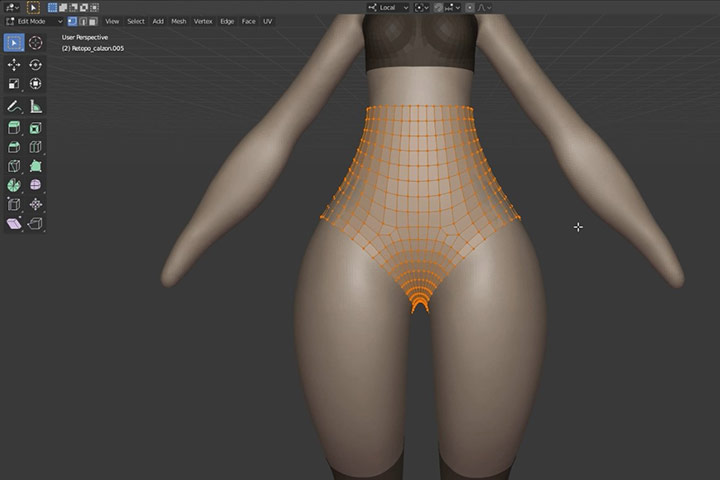
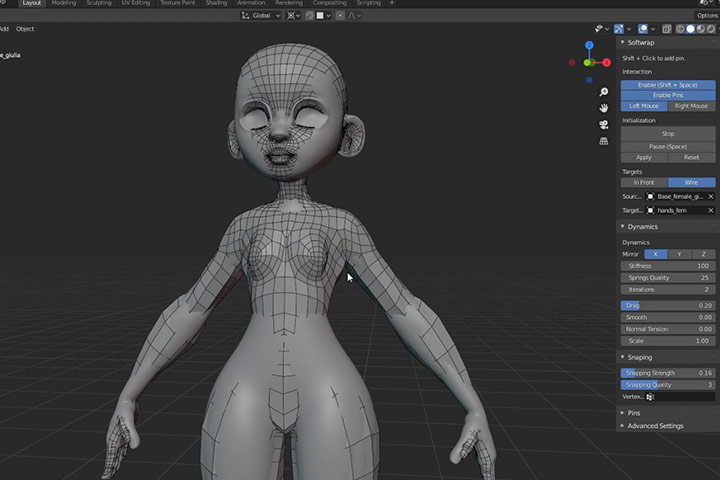
10) Next part of Character Workflow with Blender is retopo (Retopology) of the body or in this case I adapted a clean topology that I did before to this mesh. You can do this in sculpt mode moving with patience with the grab brush. In this case I used an add-on called Softwrap but it didn’t work like I expected, but you can do this like I said, in sculpt mode.
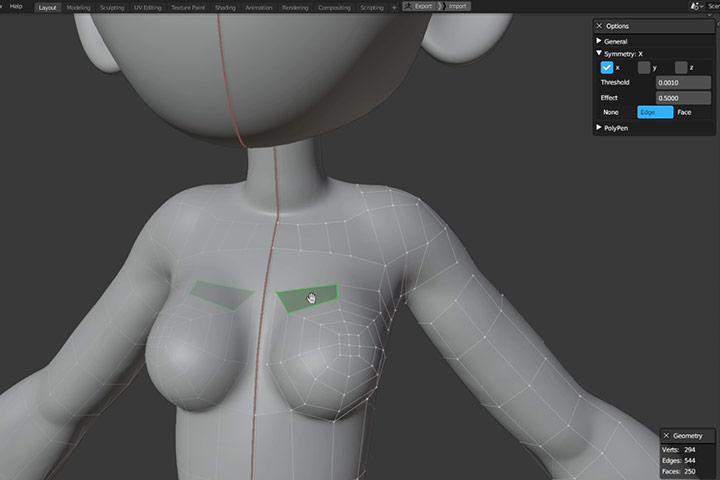
11) Or retopo like in this character that I’m doing, I’m using the beta of retopo-flow add-on to test it, I think I like it. Or you have the polybuild of Blender, or the add-on Speed retopo that is very good too.
12) Texturing or vertex paint
If I do texturing I have to do uvs, and the I use substance painter
In this character I only did vertex paint for the body and all the other was only with nodes.
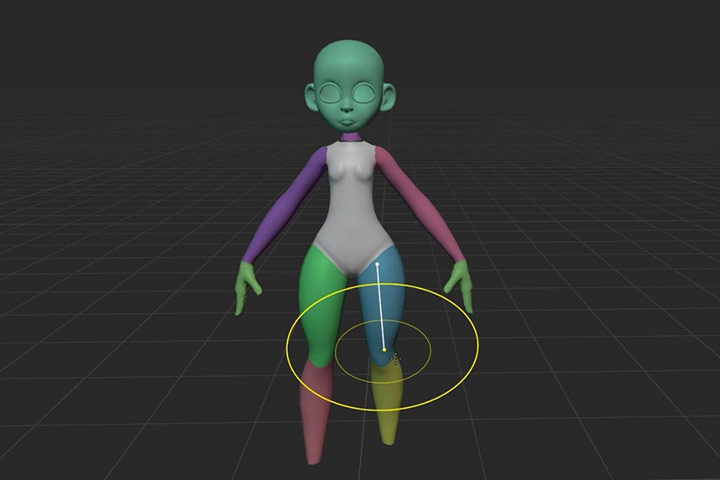
13) Pose: I used the pose brush for the body, and the adjusting the other geometries by hand. But in future you will be able to use the pose tool with all the geometries together, I saw some videos of Pablo Dobarro doing that. That’s an amazing news!
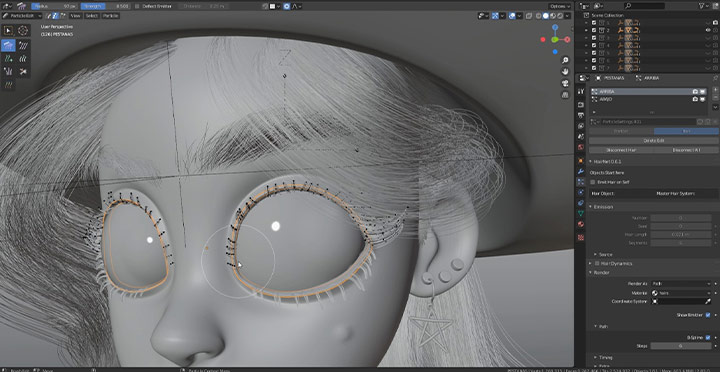
14) Hair: I made hair with particle system, just adding one by one strips
15) Render: I use only 3 lights and an HDRI, and simple materials with some nodes and mask

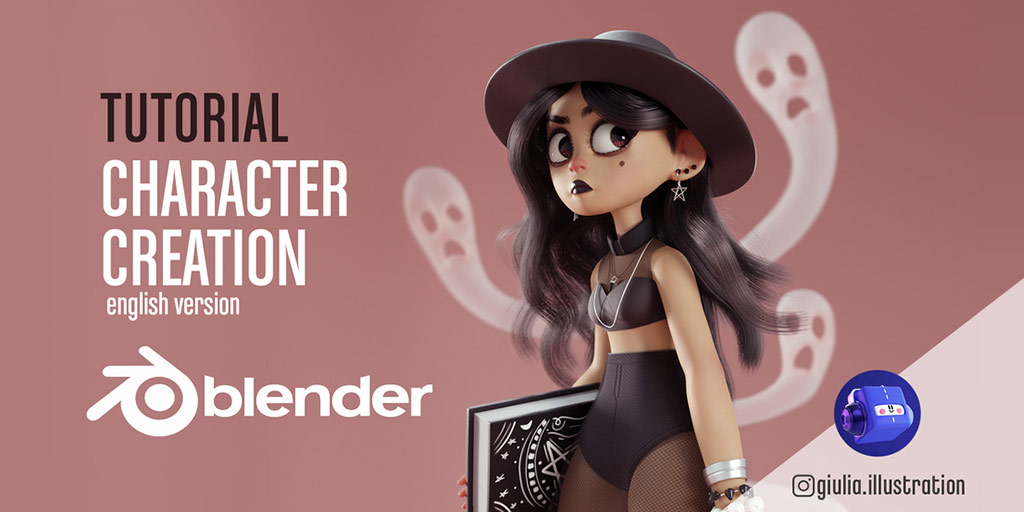
Tutorial: Character Creation in Blender
In this tutorial Giulia shows you all her process to create this character, from sculpting to rendering. You can also see all the plugins that Giulia uses in this project, for more info:
https://gumroad.com/giuliamarchetti#CDzCM
The basic steps of Giulia’s Character Workflow with Blender are:
- Blockout
- Sculpting
- Clothes creation using the base sculpt
- Accessories modeling
- Adaptation of a clean base mesh topology to our sculpture
- Vertex Paint of the face and body
- Pose using the pose brush from the sculpt mode
- Explanation of the hair particle system that I created
- Explanation of the render with the scene: lights, HDRI, materials,