Aditya Pathak is a 20 years old professional 3D artist and a computer science engineering student. Aditya has been into 3D designing for two and a half years completing around 20+ freelance projects so far. Aditya was introduced to 2D illustrations in one of his internships, and later then he started exploring this field and boom. He fell in love with the free 3D software and in particular making Isometric scenes in Blender.
How did you learn Blender?
Well, all the credit goes to BlenderGuru, CG Geek, Gleb Alexandrov and Ian Hubertz – the professional Blender youtube stars. I never took any design classes or any professional course; I just learned some basics from them and started improvising on my own. Well, self-paced learning is the best way as if you really want to learn and understand then only you will try to learn it; otherwise, it will always be in your backlog list.
Why Blender?
Blender came up as a first result when I googled “free 3D making software”. That’s why. In the beginning, it seemed to be the most irritating UI to work with. But as soon as the first rendered result came out, I loved this software, and from 2.76 to 2.83, I am still in love with it.
How to create an Isometric scenes in Blender
Well, many people don’t know what isometry actually is. I also was not aware of that until I got to know that one of my designs was called isometric artwork.
So basically, first of all: what is an Isometric artwork?
Isometric artwork is a type of artwork in which all the axes are evenly scaled in a way that if you look at the image from multiple angles, it will look equally consistent.
But how to achieve that look with Blender?
Well, it has a straightforward solution – Orthographic Camera Lens.
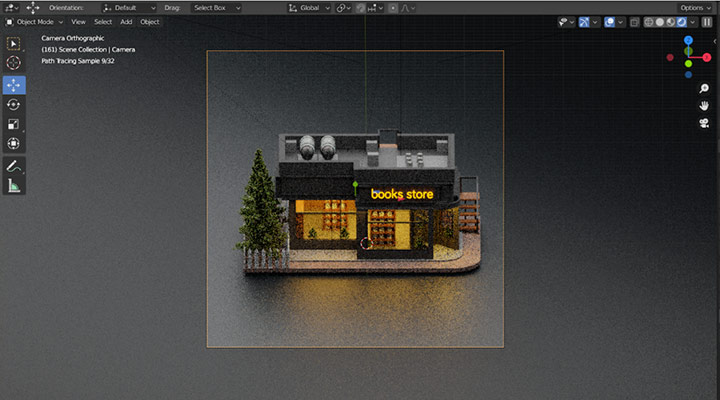
Isometric views are part of orthographic projection that basically creates symmetry in any artwork. The artwork looks clean and clear.
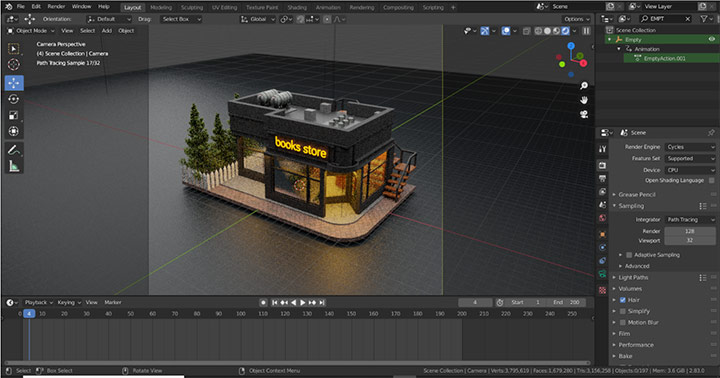
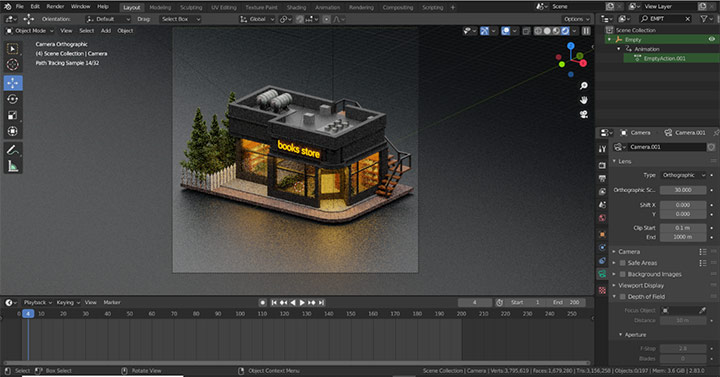
Here’s an example of Non-orthographic view and Orthographic view.
Let’s discuss some steps to achieve an isometric look in Blender.
Step one: Take a camera and place it on a particular height from the model. Not at the same level.
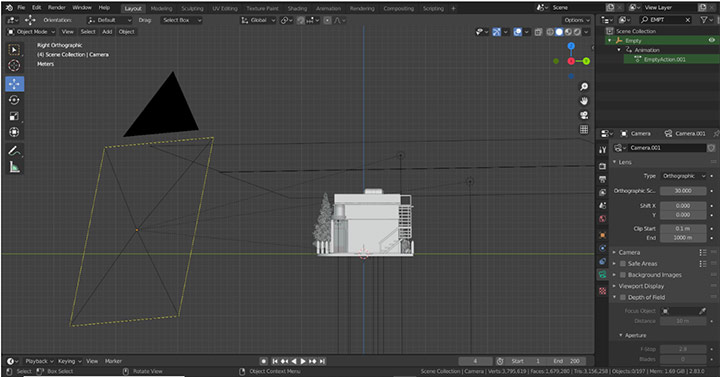
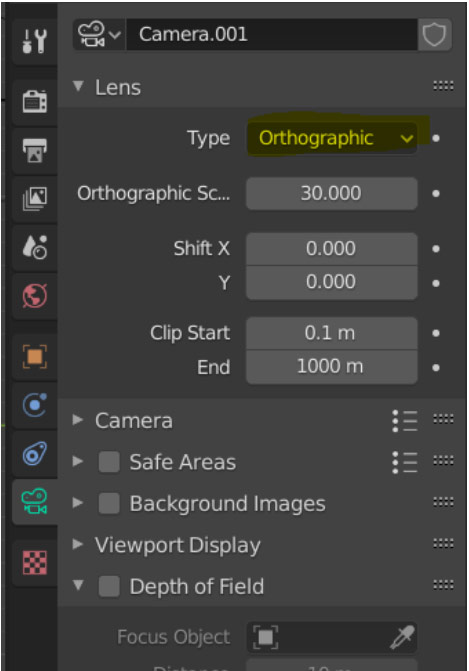
Step two: Let’s add some orthographic projection. Go to camera settings and change lens type to orthographic.
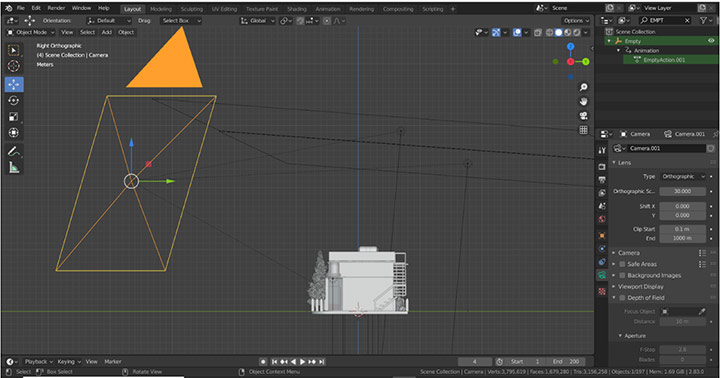
Step three: The view must be from a bit side. The front view is not up to the mark as per my opinion for mini-islands or tiny isometric objects because it will cover three sides of your model easily.
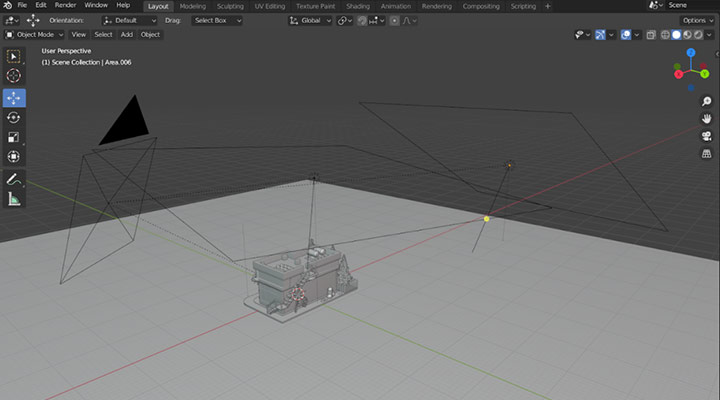
Last but not least, Lightning. Always use one primary light and one side light minimum to light up the scene and do some post-production to enhance the final result using any tool such as photoshop or any stuff.
Step fourth: Multi-light setup.
Step Fifth: Post-production:

And that’s all you want to model any isometric object.
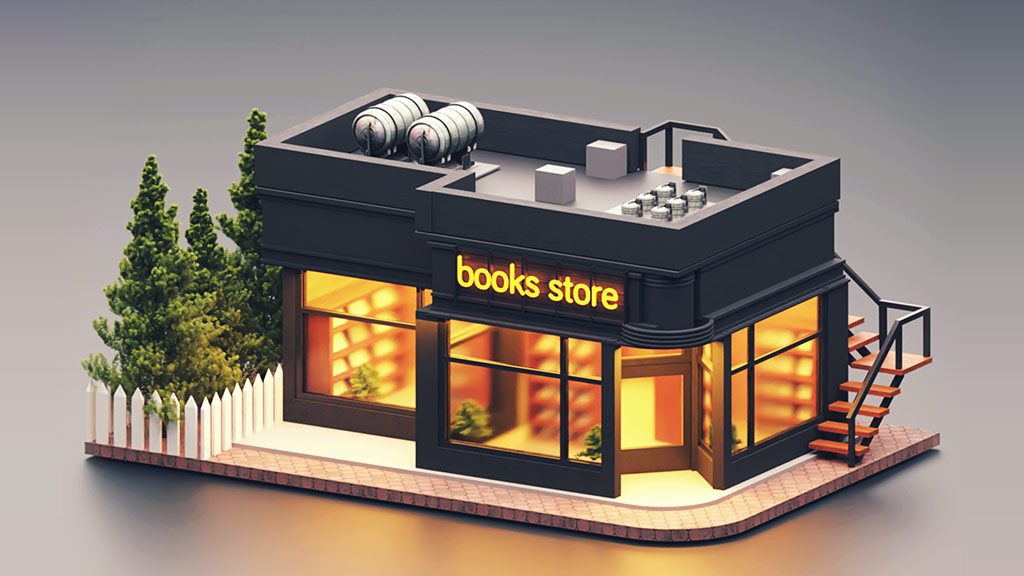
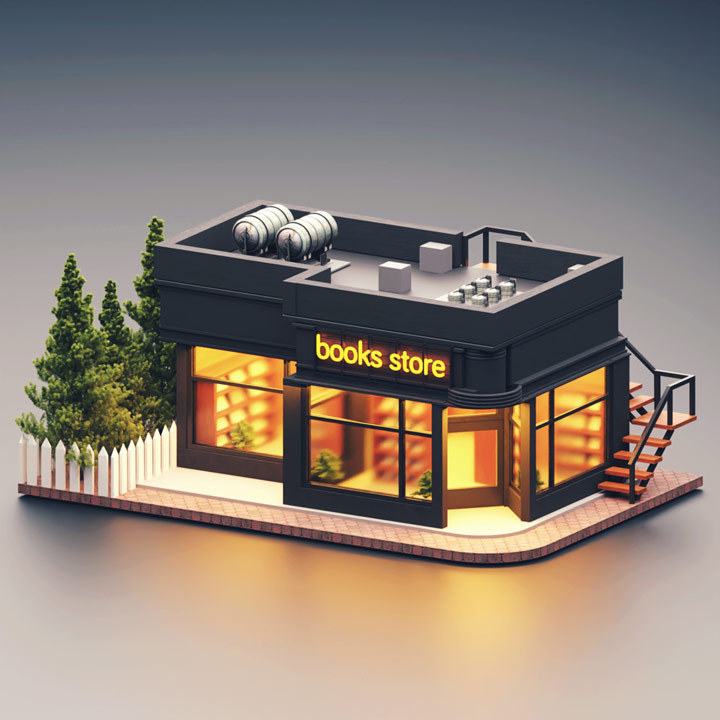
Just a quick tip. Try to concentrate everything at the centre of the setup, and you are good to go! You can use isometric scenes everywhere. In Ui Ux as well! Here’s one example. Isometric setup suits it.
Thanks for this lovely interview and for giving me the opportunity to discuss some cool stuff about Blender. Check other articles with tutorials and learning pats in our website.
can you please share the link that you mentioned above of author reference of blender tutorials to create this beautiful isometric 3d models that you have created and animation in addition
hi Abdul, here there is the youtube channel https://www.youtube.com/c/techpotatoindia
This does not show how to do an isometric render.
Isometric is a specific axonometric projection where the angles between the axes are all the same (120 degrees), and so the foreshortening along each axis is also equal.
If the camera is set to orthographic, and rotated to angles which just ‘look nice’, it is a trimetric view.