“Hello to everyone, my name is Pietro Chiovaro, and today I’m going to show you how to create a realistic environment in Blender 3D. For the creation of this project, I used the resources from poly haven so you can find the models, textures and HDRI on their website to follow the tutorial; now let’s begin!
The creation of environments is a quite complex process that requires years of experience to be done in the proper way, but in my experience, one of the essential points to know in order to do it in the proper way is to know where to start so today I’m going to show you my process focusing on the steps that I consider essential!
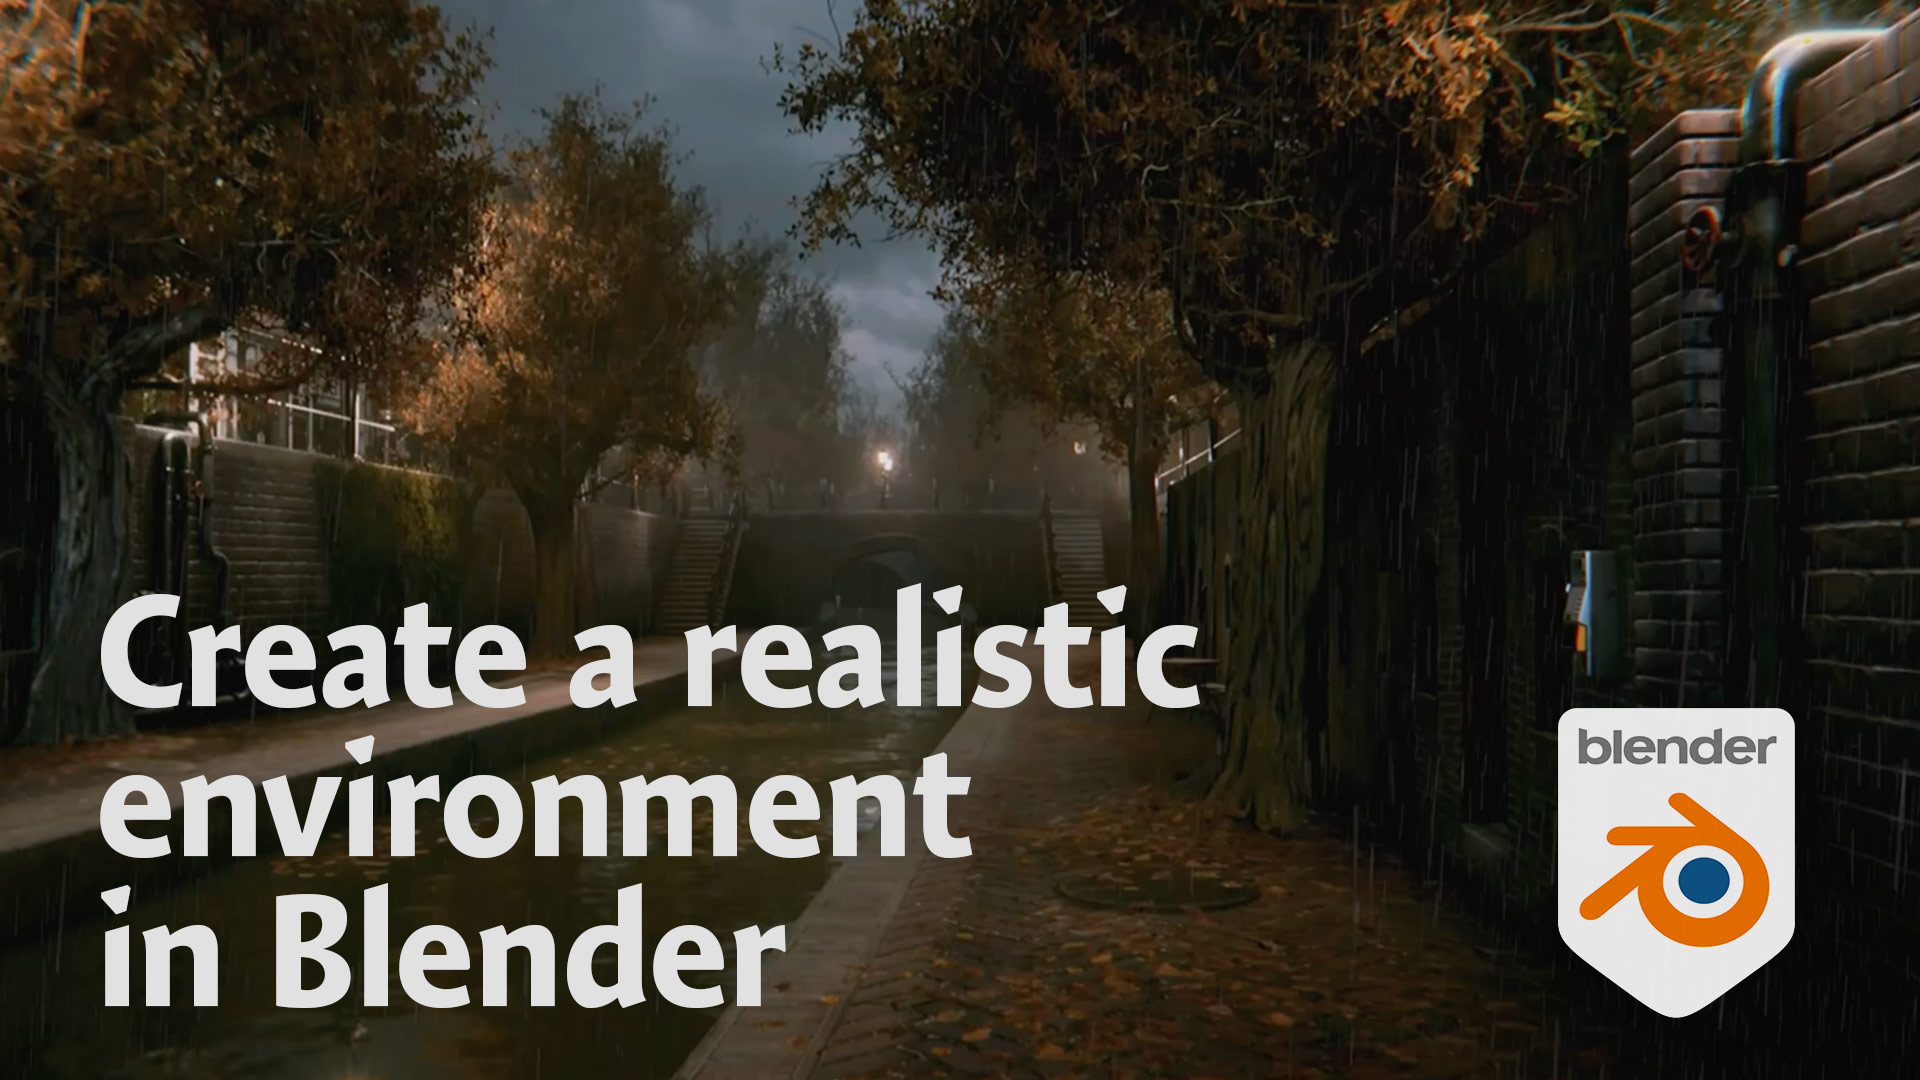
Creating Hyper-Realistic Environments in Blender
First step – Reference collection
The very first step for the creation of environments is the reference collection along with the concept production. For this project here I decided to recreate the city of Utrecht in the Netherlands, so my first step was to look around on the web for some image references to get a good idea of the environment.
Second step – Blockout
After that, I started to work on the second key point of the environment creation, the block out. Here with some simple geometry, I defined the space and scale of the scene following the references I collected. Once the blackout was good and closer to the reference, I started to add further details on the geometries (second step, “geometries upgrade”) on the geometry, and I started to do some UV mapping to get the models ready for the
Third step – Creation of materials
The third key point is the creation of the material; here, I used the textures from Poly Haven and arranged the texture scale in relation to the references.
Fourth step – Set dressing of the scene
Once we have the base scene ready, we can focus on the fourth step of the environment creation, the set dressing of the scene where I placed some other models to add a further level of realism, so I start to add trees, bricks, stairs, ivy, and decals to fill up the scene and bring a bit of storytelling.
At this point, the scene should look already good, but there are still two key steps to consider.
Fifth step – Lighting of the scene
An important step is the lighting of the scene. Here I placed several point lights and direct lights to define the mood of the scene and enlighten certain elements of the scene. Once I was satisfied with the result, I focused on the latest step of the process, the render settings.
Sixth step – Rendering and Post-Processing
The latest step of the process is the render settings with post-process, where I did the colour correction. I added some effects, vignette and lens distortion and made sure everything was looking the proper way. I did also some tests to see if there were so glitches. Last but not least, once I was satisfied with it, I recorded a simple camera movement and started to render it.
With some time and persistence, you can get awesome results just keep in mind to not rush and take your time, sometimes is common to rush due to the excitement of the project; basically, that’s the keep issue that will not let you have a realistic render, there are always things to do, to improve and add in the scene so take your time and some free time to check the project with new eyes, on in this way you can get a step closer to realism!
So I hope you find useful this short tutorial; if so, make sure to check the tutorials here to learn more in detail about the production of realistic environments in Blender and don’t forget to subscribe to support my work!
Six Blender Tutorials in less than 10 min!
Pietro Chiovaro 3D Artist from Palermo, Italy. He has always been a movie lover and videogames enthusiast. In the past years, he has been focusing his studies on the development and creation of assets, characters and environments. To offer a complete set of skills, he has also developed his competences in art direction, game design and direction.
Working as a freelancer, he developed deep experience in many aspects of CG production from architecture works, to VFX effects and games development.
3D Expert of the 3D World & 3D Artist Magazine since 2015, every month Pietro shares his knowledge and helps other artists, giving answers to their questions and showing them the solution to their issues.
Pietro has been present in the 3D World for a while despite his young age. Here come links to his activity: